Project Life Week 10 - With Imaginarium Designs!
The project theme for July with Imaginarium Designs is to to use "Words and Phrases". The variety of designs of ID words and phrases is amazing and is one of the features of this brand. Project Life and Pocket page scrapbooking is the perfect place to use lots and lots of words and phrases. The larger chipboard phrases are perfect to showcase on single 6x4 PL cards and the smaller individual words are perfect to overlay on photos.
Todays project is Week 10 of my "Schultz Family 2016" Project Life Album. I've also used my Minc and some of the fabulous new Minc mediums to "create foil magic" on my cards and Imaginarium Designs chipboard pieces. The great feature of the Minc mediums is that you dont need to use a laser printer!
On my "week card" I've added splatters of the Minc reactive mist. The Minc mist is a lot thicker than Colorshine mists and took much longer to dry - you must let it completely dry before passing through the Minc else it wont stick properly, and you get a sticky mess!
On another card I've used the Minc reactive screen ink through a stencil. You could also use the Minc paint but I didnt have any - and I'm not sure what the difference really is??
On another card I've painted on some Minc reactive screen ink.
And the highlight was painting the Minc reactive screen ink directly on to the chipboard. You might not have known this but the Minc works with chipboard as well as paper and cardstock!! Yes ... Winning!! The important thing here is to get good coverage and let it dry completely.
This is a photo of the Minc stenciled card being revealed.
Here is some of the chipboard coming out of the Minc. I have a Minc Mini. It fits widths up to 6inches which is perfect for embellishments and cards. If you have the money and want to put a 12x12 page through the Minc then I would recommend the larger machine, but this is fine for me. I have also used a laminator (A4 size) and the results are OK but inferior to the Minc results. And I'm not sure how it could cope with the thickness of chipboard.
Check out the beautiful gold foil on this chippie!!
OK, so enough about the foiling process and on to my PL pages.
Here is a close up of the LHS. One of the features for this week was attending a Fiona Paltridge class at Seriously Scrapbooking.
I have added some colour with splashes if Dylusions ink sprays across some of my cards. Most of the cards on these pages are KaiserCraft.
The foiled chippies look amazing.
This chipboard dress form is so pretty! And I love the texture from the paint brush that shows up in the foil.
The foiled result from using the stencil - the possibilities are endless with all the stencils I have in my collection.
Here is a close up of the RHS. I've just realised that for the photo I have flipped my week 10 card and the coffee photo - oh well!!
These "# word" chippies are so fun and perfect for adding to photos! I sprayed the words with white KaiserCraft mist
Some gold foiled cloud chippies and some watercolour paint are all that is needed for a fun PL card.
This is the foiled result of my reactive mist splats - how fun is the look!
Jessica is looking very cute and cheeky wearing her birthday beanie.
I sprayed this chipboard phrase with black paint for a contract to all the gold on the page.
Photographing foiled pages is very tricky. You need natural light else it just appears black in the photo. This pic was taken outside but being winter here it is a bit gloomy. Hopefully you can see how pretty the foil looks!
Imaginarium Designs chipboard I've used includes
4 clouds in board : code IDS0027
What makes you different : Code IDP0115
The great escape : code IDP0187
2 Manequins and hoop : code IDT0025
small Monarch butterfly : code IDT0031
# words : code IDW0094
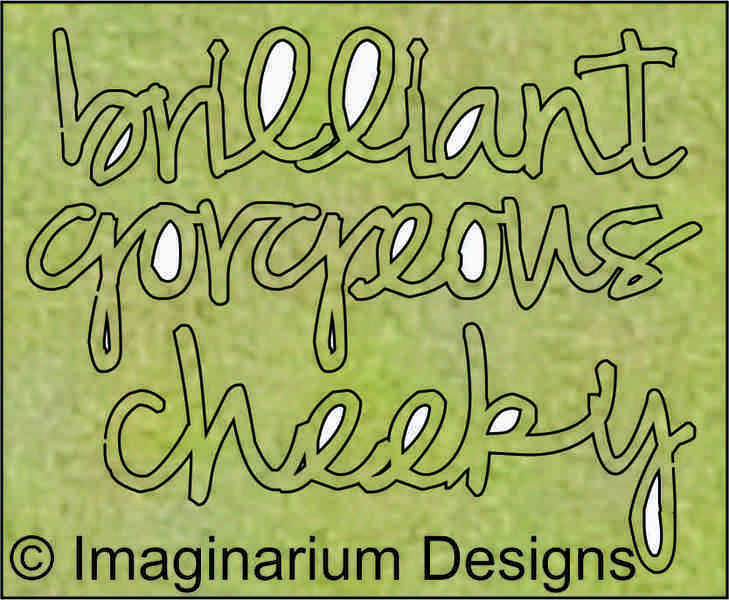
Brilliant gorgeous cheeky : code IDW0093
All of my photos have been printed on an Epson XP-600.
Thanks so much for stopping by
Crafty Hugs xx
Karyn


No comments:
Post a Comment